Creating a Gallery Wall: A Step-by-Step Guide
There’s something timeless about a gallery wall. More than just decoration, it’s a way of layering stories, memories, and artistry into your living space. Whether it’s a dining room, hallway, or home office, a thoughtfully curated gallery wall brings together individuality and cohesion, creating a focal point that feels both personal and elevated.
In this guide, I’ll share how to design and hang your own gallery wall, using fine art prints from The Botanical Collection as inspiration.
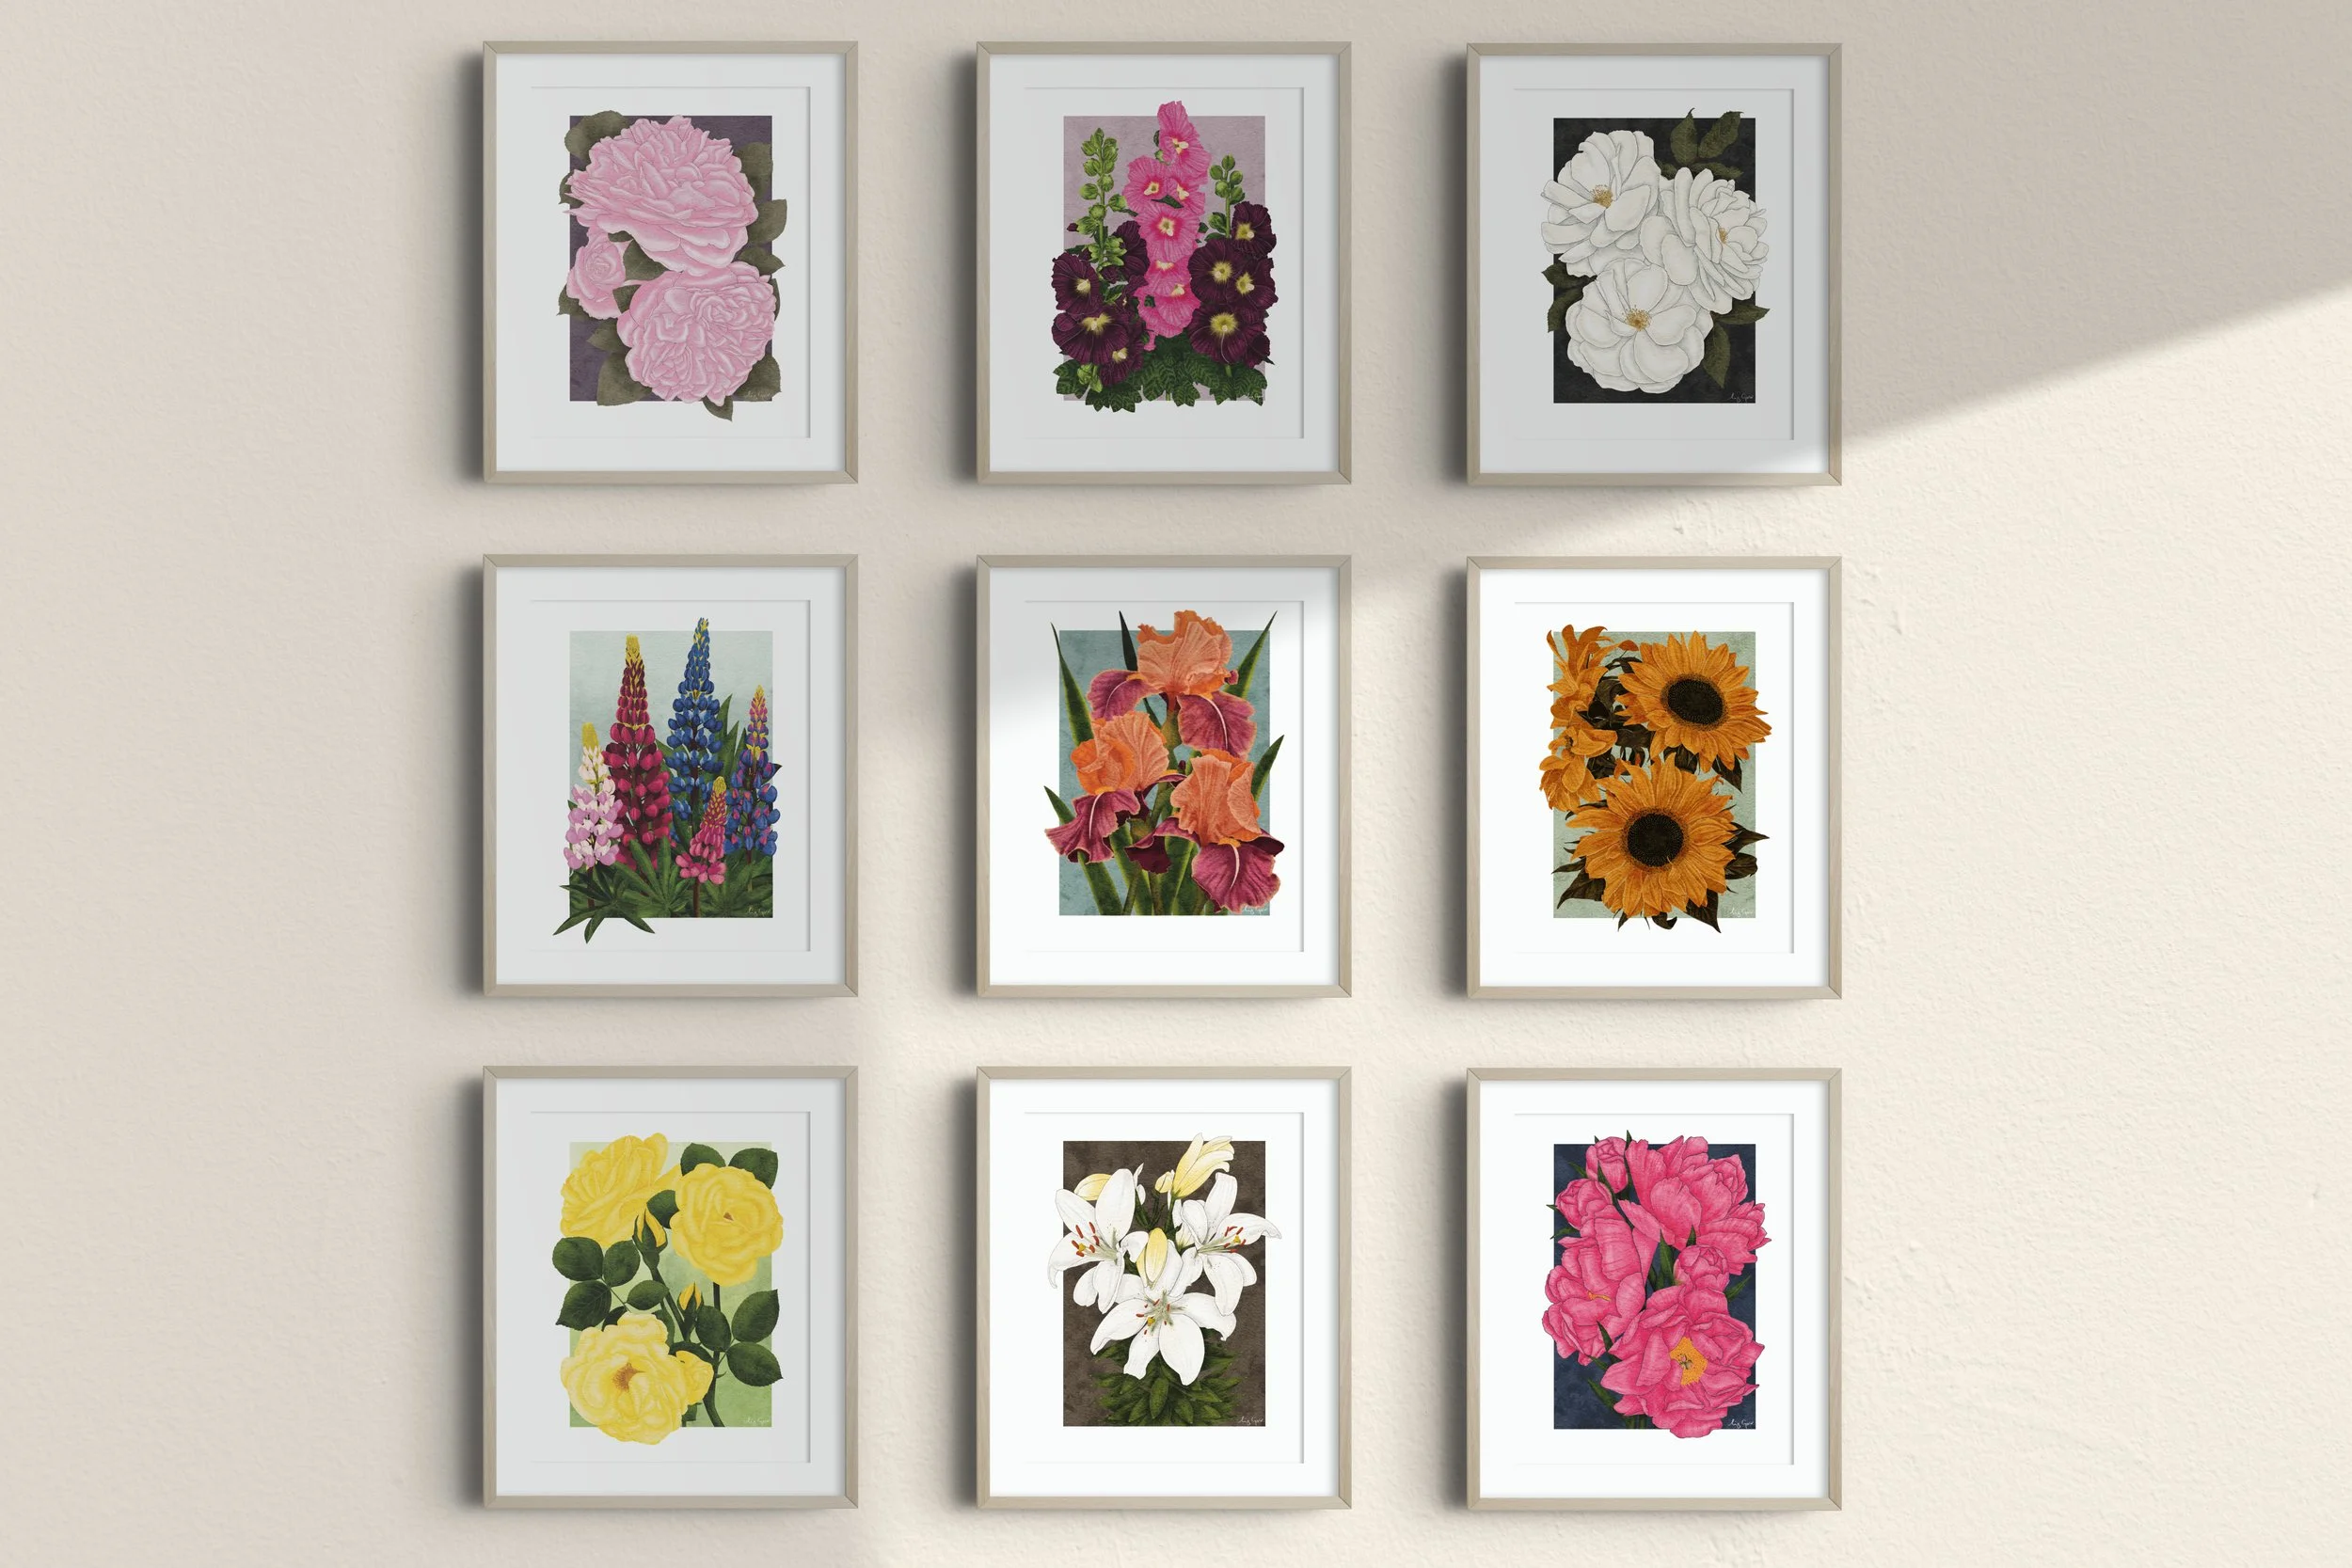
The Botanical Collection styled as a nine-piece gallery wall — a statement display that transforms a room with layered colour and detail.
Step 1: Choose Your Theme
The foundation of any gallery wall is a unifying theme. This might be botanical studies, architectural sketches, family photographs, or a mixture of meaningful pieces. For a polished, harmonious effect, stay within a complementary palette or subject area.
In my own practice, botanical art prints often work beautifully in multiples — each flower has its own personality, yet they sit together with balance and ease.

Vibrant pinks and soft lilacs — Pink Roses, Karl Rosenfield Peonies, and Lupins bring warmth and depth when grouped together.
Step 2: Select Your Layout
Before reaching for the hammer, plan your arrangement. Two classic approaches are:
Symmetry: A neat grid that feels ordered and timeless.
Organic: A looser arrangement that builds out from a central anchor piece.
Lay your frames on the floor first to experiment with spacing and flow. A gallery wall doesn’t need to feel rigid — a little variation adds character.

Soft whites, golden tones, and deep violets — Madame Alfred Carrière, Carnaby Iris, and Sunflowers create contrast with harmony.
Step 3: Balance Size and Scale
Mixing different sizes of artwork creates rhythm. Larger prints act as anchors, while smaller pieces can weave the eye between them. The key is balance — distribute visual weight across the wall so one area doesn’t feel heavier than another.

Bold colour meets softness — Yellow Roses paired with Carnaby Iris for contrast and balance.
Step 4: Frame with Intention
Frames are as important as the artwork itself. For a cohesive look, choose frames in the same finish (natural oak or soft white work beautifully for botanical studies). Alternatively, combine finishes subtly for a layered, lived-in feel. Always include mounts to give each piece room to breathe.
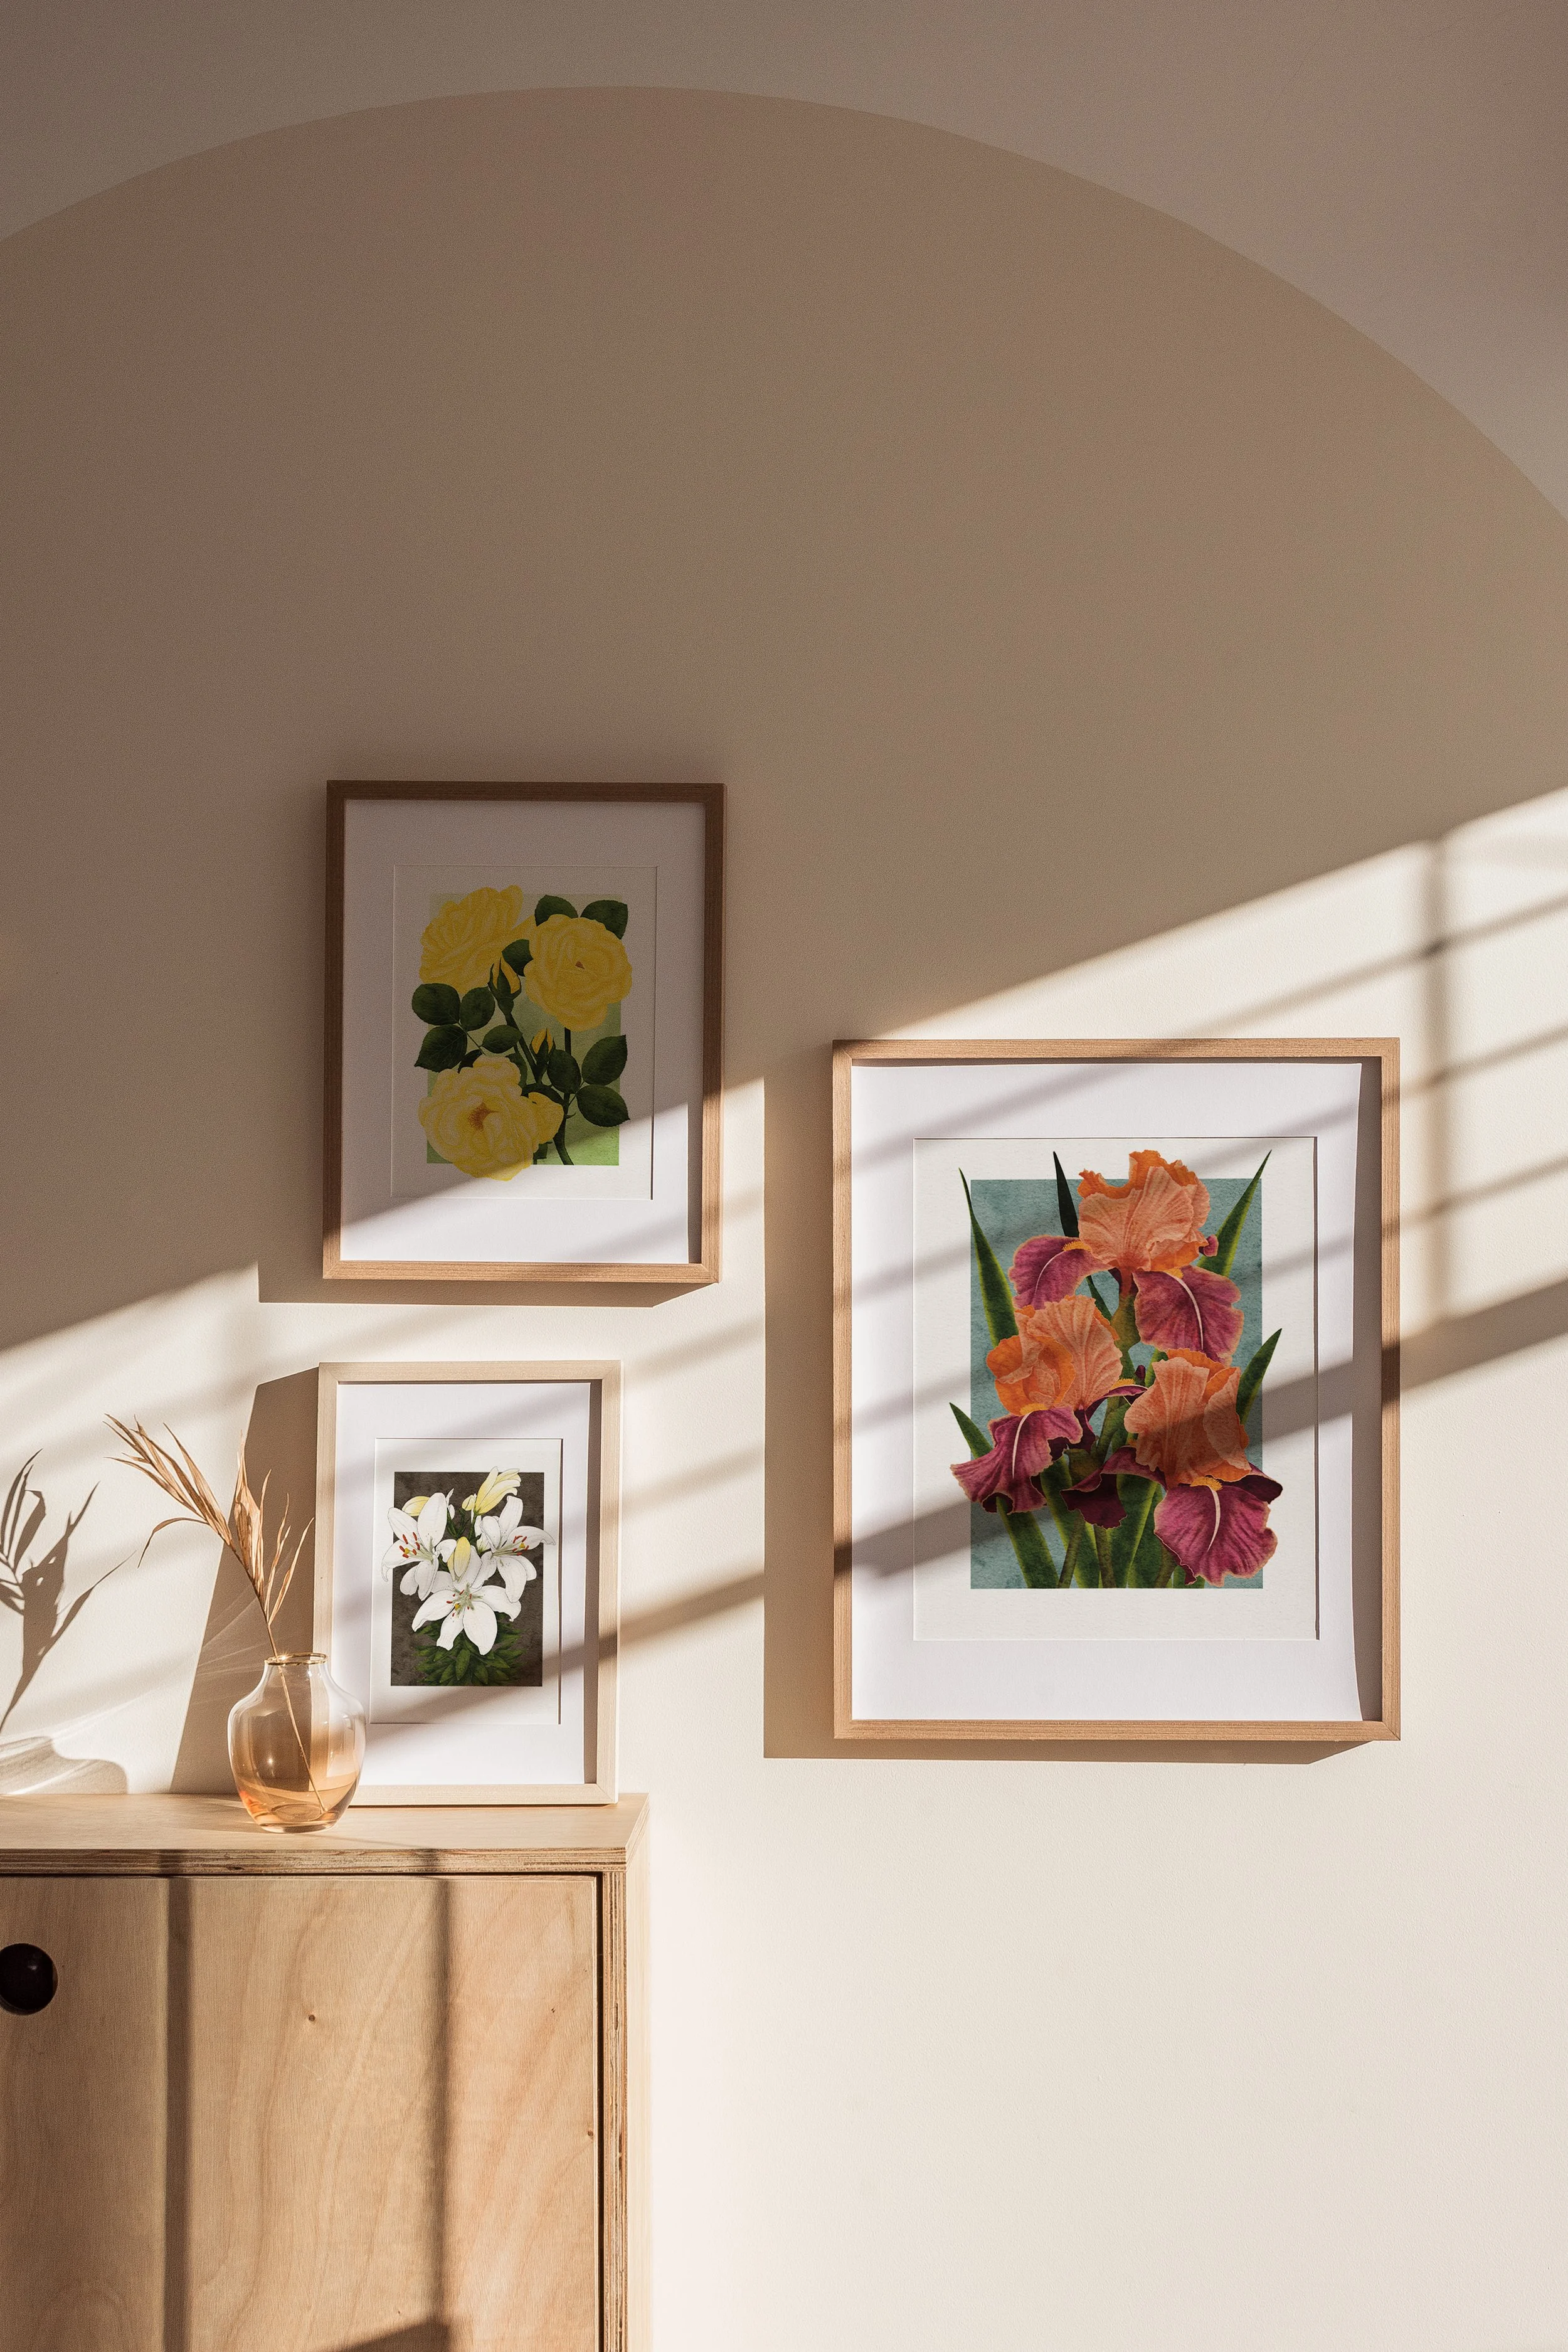
A fresh and uplifting arrangement of Yellow Roses, Carnaby Iris, and White Lilies
Step 5: Placement and Hanging
When hanging, start with the central piece at eye level — usually around 145 cm from the floor. From there, build outward, maintaining consistent spacing (between 5–8 cm works well). Use picture hanging strips or hooks suited to your wall type.

Soft whites and golden tones — Madame Alfred Carrière, White Lilies, and Sunflowers bring harmony to a room.
Step 6: Add Finishing Touches
Styling around your gallery wall can enhance the overall effect. Simple additions — a glass vase with dried stems, a linen throw, or soft lighting — frame the artwork and invite the eye to linger. The aim is harmony: your wall should feel like part of the room, not an isolated feature.

A romantic pairing — Karl Rosenfield Peonies and Pink Roses together in deep and soft tones.
A gallery wall is more than decoration — it’s a reflection of your style and story. With careful planning and a little creativity, you can transform a blank wall into a space that feels curated, personal, and enduring.
If you’re inspired to start your own, the pieces featured here are available from The Botanical Collection at Liz Govier Art Studio. Each fine art print is designed to last, printed with archival-quality inks on museum-grade paper.